OCR Tutorial
Table of Contents
This tutorial will take you through the basics of using Pleco’s Optical Character Recognizer, which lets you look up words in + capture text from your device’s camera and from still images / PDFs.
The OCR module is a paid add-on; it can be purchased through the Add-ons screen inside of Pleco.
Live OCR
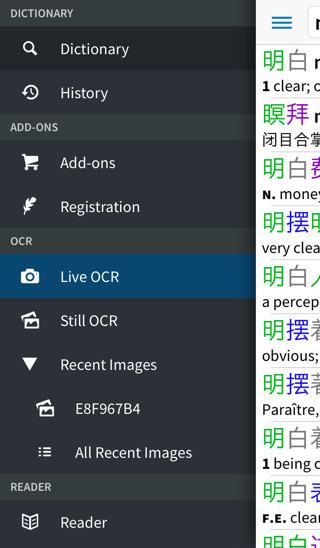
To perform OCR on live video, simply tap on “Live OCR” in the sidebar menu:
After a moment, you should see a screen that looks something like this, with live video from your device’s camera in the background:
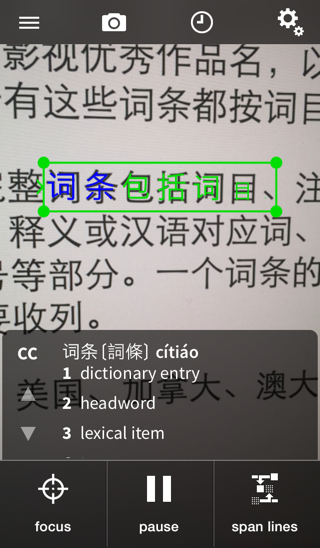
The green box here is the recognition area - Pleco will attempt to recognize whichever characters are in that box, and display their definition in the box below.
Drag the corners of this box to resize it. It’s OK if the box is wider than the text - just try to match the height of the text, and make sure the left edge of the box is aligned with the start of the word you want to look up. When the recognizer is paused (see below), you can tap on any character in the box to look up its definition instead, or tap on the first character of an already-selected multi-character word to look up the definition for just that character.
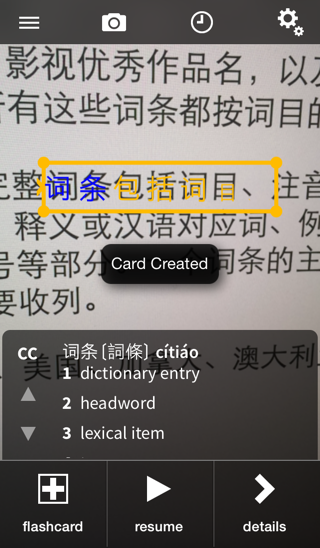
The text in the box will update continuously as you move your device around to point at different characters, but if you aim at the same block of characters for half a second or so, Pleco should “lock on” to it, at which point the color of the box will change from green to orange:
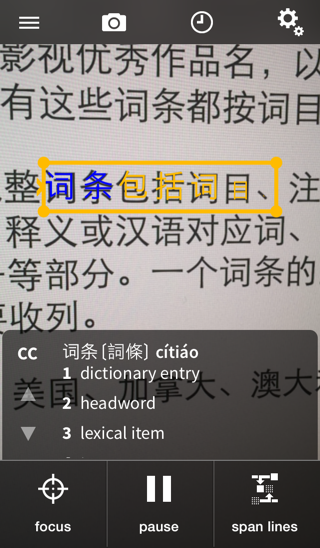
Once it does that, the text should stop updating until you move the camera a significant distance away.
Tap on the ‘pause’ button to stop the text from updating completely - it won’t update again until you tap ‘resume’:
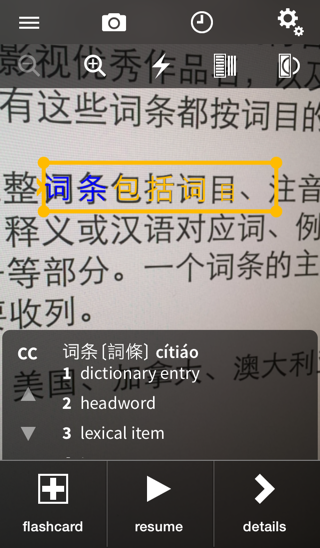
This mode gives you two extra options - “details” will bring up a full definition for this word in a separate screen:
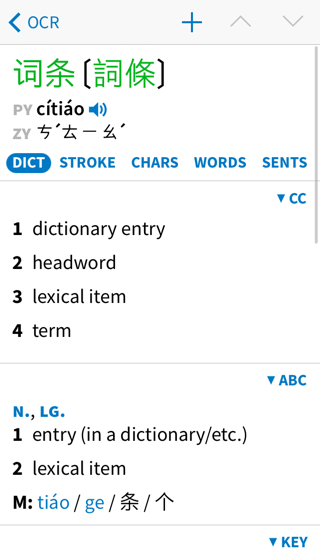
While “flashcard” will add this word to your flashcard database. (as in other places in Pleco, if you long-press the “flashcard” button you can select which category to add the card to)
Tap on the ‘camera’ icon at the top of the screen to bring up a toolbar with some additional options:
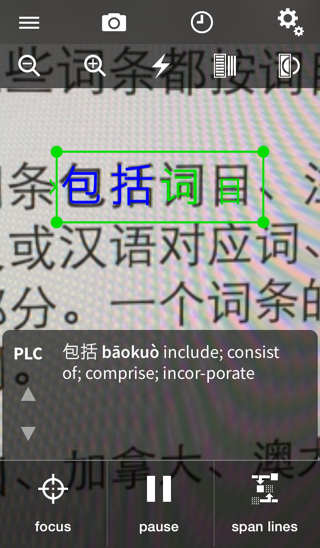
The first two icons zoom the image in and out. The middle icon activates / deactivates the camera flash light (for illuminating text in a dark room).
The last two buttons are a bit more complicated. The second-to-last switches between horizontal and vertical text (Chinese routinely appears in both directions); Pleco will normally try to detect this itself, but if it gets it wrong you can tap on that button to force it to one mode or the other.
The last button switches between black-on-white and white-on-black text. Again, Pleco can usually detect this on its own, but not always; if it gets it wrong (which generally means spectacularly / completely incorrect OCR results) you can tap on this button to force it into one mode or the other.
Other Modes
Tap on the “gear” icon in the top toolbar to bring up this menu:
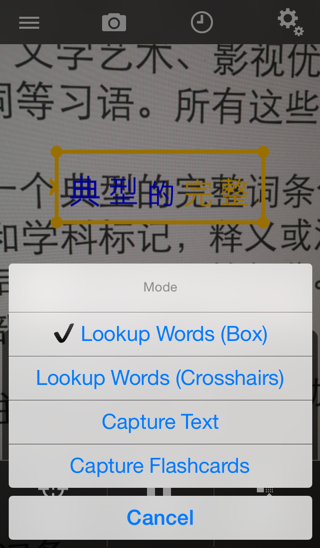
This lets you switch between different OCR modes. The first option, “Lookup Words (Box)”, is the one you were just using. The second option, “Lookup Words (Crosshairs),” is very similar except that instead of a resizeable box, the center of the screen is just a + crosshair indicator:
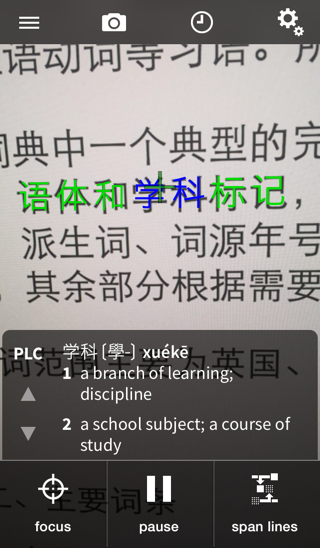
This is a bit more convenient than the box, but also a bit less reliable (it may detect the height of the text incorrectly in some cases). It will recognize the word most directly under the + instead of the word at the left edge of the screen.
“Capture text” is relatively uninteresting - lets you extract a few lines of text at a time, which you can then send to Pleco’s document reader or the clipboard - so we won’t cover it in detail here. (see the OCR manual for more on that)
“Capture Flashcards” is much more useful; it lets you ‘scan in’ lists of flashcards from a paper, almost as if you were using a supermarket checkout scanner. Immediately after choosing that mode, you’ll see a flashcard category picker screen:
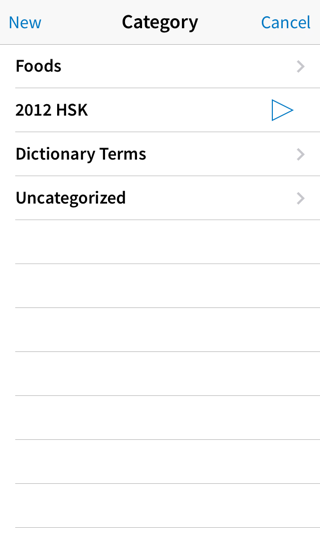
Select a category and start recognizing words; whenever Pleco recognizes a word, after you keep pointing at that word for a moment you should hear a ‘beep’ sound and see a popup message like this:
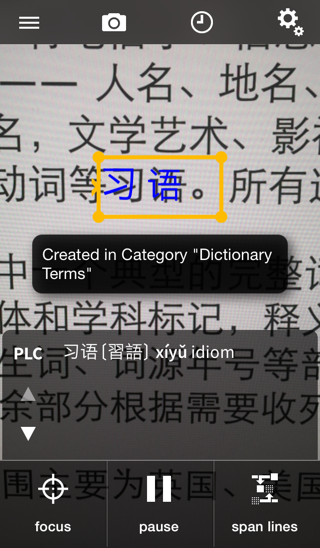
You can transcribe a list of flashcards very rapidly this way.
Still OCR
We also support OCRing of still images; you can do this with a newly taken picture, with a picture in your iPhone / iPad’s photo library, or in any image format iOS supports (JPG, PNG, etc) and also in PDF files.
To open up a still image OCR session, choose “Still OCR” in the sidebar menu:
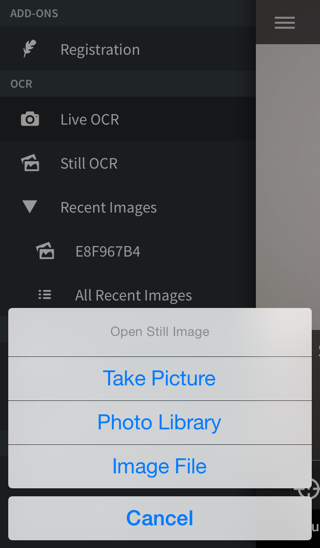
“Take Picture” brings up the standard iOS interface for taking a new picture, “Photo Library” accesses your device’s photo library, and “Image File” accesses Pleco’s document storage directory - see the reader tutorial for information on how you can copy files into there.
Whatever you choose, after selecting your image you should end up on a screen like this:
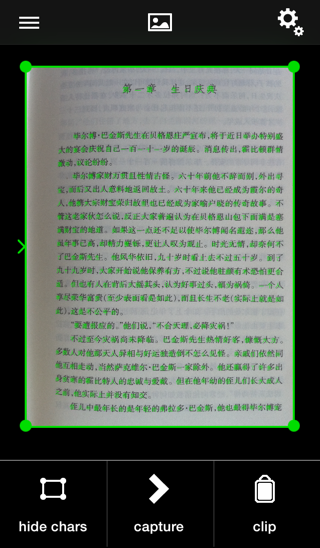
“Hide chars” lets you hide / show the green character overlay, “capture” lets you send the entire text output to our document reader, and “clip” copies the text to the clipboard.
Zoom in (with the standard iOS pinch-zoom gesture) and tap on a character and you should see a popup bubble with the definition:
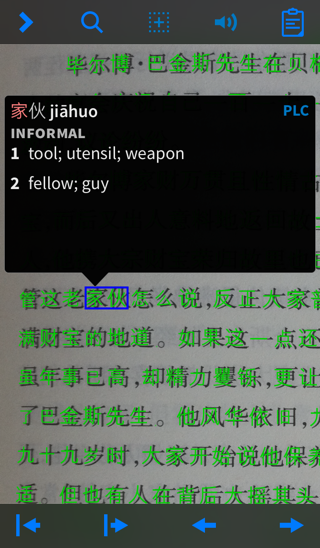
The UI for this bubble is likewise covered by the reader tutorial.
Tap on the ‘photo’ icon in the top toolbar for options to rotate the image left / right along with the same horizontal/vertical and black-on-white / white-on-black options as in live OCR mode.
The green box here is resizable just like the one in live OCR, but it’s “sticky” - it’s attached to the document rather than to a set screen location, so if you scroll or zoom the document around it’ll still cover the same area.
Scroll Lookup Words
Tap on the ‘gear’ icon and tap “Scroll Lookup Words” to switch to this interface:
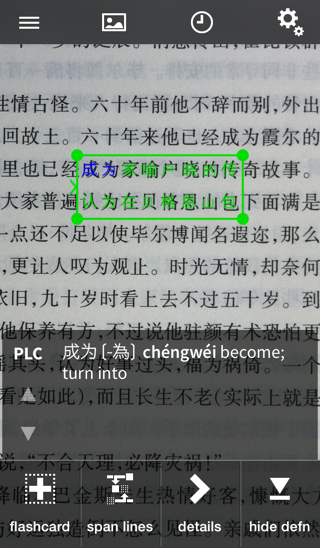
This works more like Live OCR mode - the box stays in the same place on the screen and you scroll / zoom the document ‘behind’ it. Tap on any character / word in the box to pull up its definition in place of the first one:
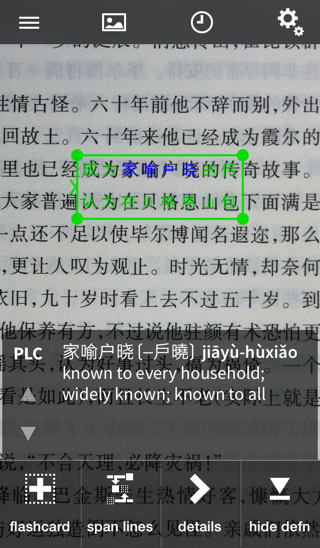
If you’ve purchased our handwriting recognizer add-on, you can long-press a character that was recognized incorrectly to bring up this screen:
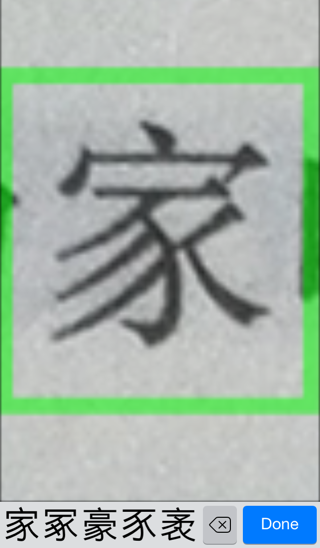
This will give you a blown-up version of the character that you can trace over to try to find it with handwriting. The candidates at the bottom of the screen will initially be set to display a list of alternate matches that our OCR algorithm came up with. If you haven’t purchased our handwriting add-on, you’ll get a pop-up with that list of alternate matches in lieu of the handwriting box. In either case, after you select the new character it will replace the old one in the OCR output.
PDF Viewing
If you choose “Still OCR” and then “Image File” and select a PDF document in Pleco’s document storage directory, you’ll end up with an interface like this:
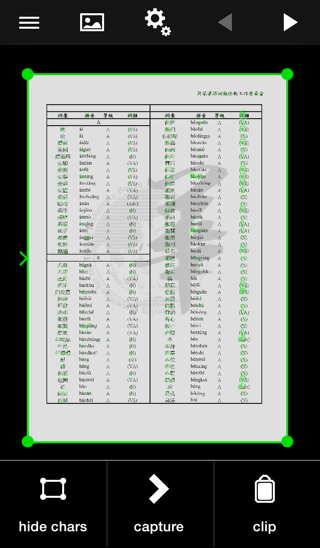
This is pretty much identical to the regular still image OCR interface, and supports all of the same modes, but adds two left / right arrow buttons at the top right corner of the screen; tap on these to navigate between pages.
Span Lines
In both the live and still “lookup words” modes, you’ll see a “span lines” button at the bottom of the screen. Chinese texts are generally line-wrapped without regard to words - there’ll be the same number of characters on each line even if that means that a word is cut off in the middle - and “span lines” is our way of dealing with that problem.
To use it, first point to the first half of a word at the end of a line:
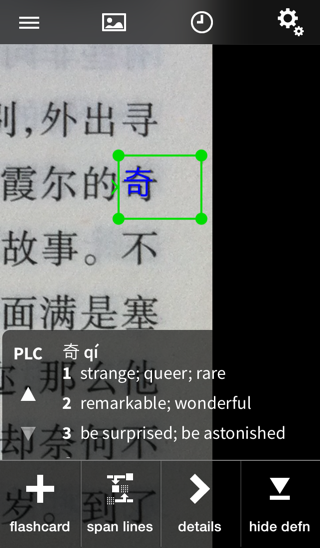
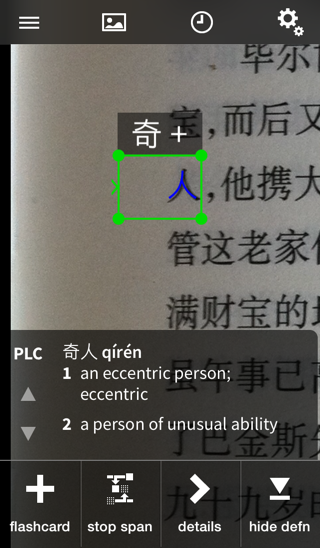
Tap on the “span lines” button and you’ll see that appear above the recognition area with a “+” after it:
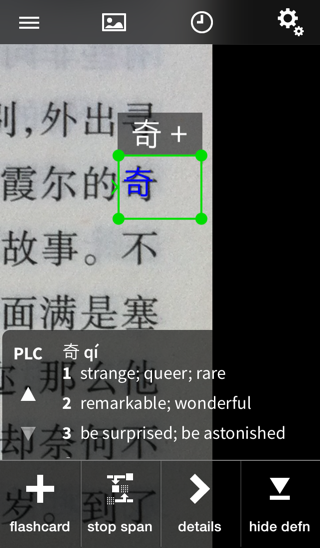
Point at the start of the next line of text and the definition lookup will give you a definition the text you just captured with “span lines” plus the text in the new line:
History
Tap on the clock icon in the top toolbar to bring up a history of recently looked-up OCR words:
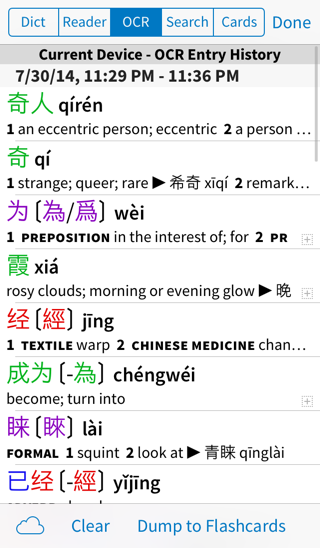
You can also access this directly from the “History” item in the sidebar menu. Tap on any word to view its detailed definition.
Back to Index